A hidden water leak can cause extensive—and expensive—damage to your home long before you ever see a single drop of water, making early detection critical for preventing structural decay, mold growth, and skyrocketing utility bills. From mysteriously damp spots and the sound of running water behind walls to unexpectedly high water bills and warped flooring, these leaks often leave subtle clues that homeowners overlook until it’s too late. In this guide, we’ll help you recognize the key signs of a hidden water leak, understand where they commonly occur, and learn what steps to take to protect your home from costly, behind-the-scenes water damage.
What Are The Most Common Signs Of A Hidden Water Leak?

A hidden leak is water escaping where you cannot see it, often behind walls, under floors, or beneath a slab. Left alone, it drives up bills, feeds mold, and weakens materials.
High Water Bills And Meter Checks
An unexplained spike on your water bill often points to continuous water loss rather than normal use. Leaky faucets or a running toilet can waste up to 90 gallons per day, and a tiny pinhole in a pressurized line can release nearly 400 gallons in 24 hours. A simple test helps confirm suspicion. Turn off every tap and appliance, then check the meter, wait a couple of hours without using water, and check again. Any movement suggests water is flowing where it should not.
Musty Odors And Mold Growth
A lingering damp smell in cabinets, closets, or basements is a common early sign. Moisture trapped in dark, unventilated areas allows mold to take hold. You may notice earthy odors that intensify after the home is closed up, along with black or green spotting on drywall, trim, or the back of furniture. Sensitive family members might report sneezing or headaches that ease after leaving the space. Fixing the source of moisture is the first step to improving indoor air quality.
Water Stains, Peeling Paint, And Warped Surfaces
Discoloration on ceilings and walls, bubbling paint, and soft drywall indicate water has been working behind the surface for some time. Yellow or brown rings overhead often trace back to a roof or upper level pipe leak. Peeling paint near baseboards can signal moisture wicking up from a slab. Cracked plaster and sagging drywall suggest ongoing saturation that needs prompt attention.
Low Water Pressure And Flow Changes
When faucets that once ran strong begin to sputter or slow, water may be escaping before it reaches the fixture. Leaks inside walls reduce available volume, and corroded fittings can weep internally while restricting flow. If pressure drops more when multiple fixtures run at once, the issue may be in the supply lines rather than a single tap.
Unusual Sounds Behind Walls Or Floors
Dripping, hissing, or faint gurgling noises with no fixtures in use often point to water escaping under pressure. Consistent dripping can mean an overhead line is leaking. Hissing near valves or joints suggests a pressurized breach. Gurgling may occur as water pools around joists or the subfloor, especially after a shower or laundry cycle.
Wet Spots, Warped Floors, And Sagging Ceilings
Damp carpet, darkened plank edges, cupping boards, or a ceiling that bows are all red flags for hidden moisture. Wood changes shape as it absorbs water, and gypsum sags as it becomes saturated. These distortions usually track back to a specific area, which helps narrow the search for the leak path.
Exterior Red Flags Around The Yard
Outside, soggy patches that do not match recent rain, unusually lush grass along a line, or soft soil near the foundation can point to underground leaks. Cracks in basement walls or minor settling can follow soil erosion when water washes fines away from footings. Pooling near meters or sprinkler heads can indicate a joint that needs repair.
Early detection is the cheapest fix. Watch bills and meters, trust your nose, scan surfaces for staining or distortion, and listen for water where it should be quiet. Catching these signs quickly limits damage, protects air quality, and keeps your plumbing system working as it should.
How Can Homeowners Detect Hidden Water Leaks Themselves? Effective DIY Methods
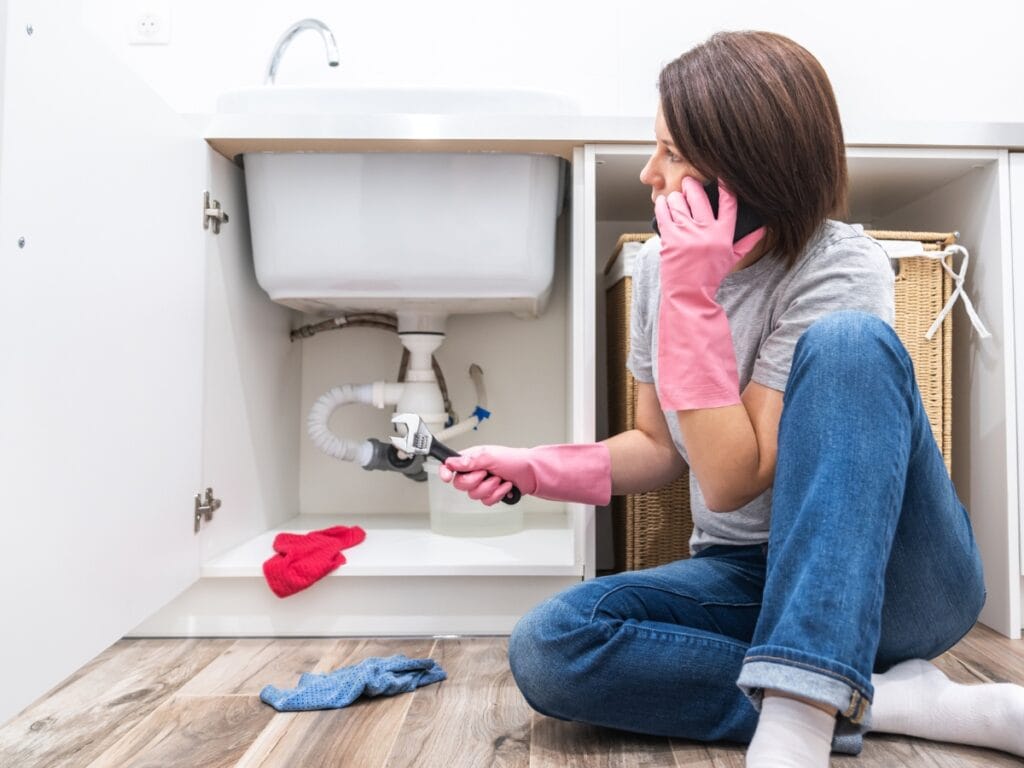
You do not need special tools to catch early signs of a hidden water leak. A careful routine of checking the meter, testing toilets, listening in quiet rooms, and inspecting high-risk spots often reveals problems before they turn costly. Work methodically, rule out normal use, and keep brief notes so you can compare results over a day or two.
How To Use A Water Meter Test
Begin by turning off every tap, shower, and appliance that uses water. Note the meter reading and the small flow indicator. Leave the system untouched for at least 2 to 4 hours, then check again. Any change points to water moving somewhere it should not. Repeat the test late at night when usage is lowest. If the meter shows movement each time, shut the house valve and watch the dial. If it stops with the valve closed, the leak is inside the home. If it keeps moving, look for an exterior or underground issue between the meter and the house.
The Toilet Dye Test, Explained
Toilets are common, silent offenders. Put a few drops of food coloring in the tank and wait about 10 to 15 minutes without flushing. If colored water appears in the bowl, the flapper or another seal is leaking. Replace worn parts and retest. If the color stays in the tank, move on to the next toilet and repeat. Even a small leak here wastes significant water over time.
Listening For Trouble In Walls And Floors
Quiet the house by turning off fans, televisions, and laundry. Place an empty cup against a suspect wall or floor and put your ear to the rim. A steady hiss can signal a pressurized supply leak. Intermittent drips may come from a slow joint or a line above the ceiling. A basic mechanic’s stethoscope or the handle of a long screwdriver used as a sound probe can make faint noises easier to hear. Check again after showers or dishwasher cycles, since some leaks announce themselves only when lines are hot or under higher demand.
Other Quick Checks You Can Do
Open sink bases and feel around shutoff valves and traps for dampness. Slide appliances forward a few inches and inspect hoses for bulges, cracks, or a fine mist at connection points. Look along baseboards for bubbling paint or soft drywall, and across flooring for darkened seams or slight cupping. Step outside and scan for soggy soil, extra-green streaks in the lawn, or pooling near spigots and irrigation valves. If you have a crawl space, a quick flashlight sweep can reveal fresh stains or damp insulation. Keep photos of anything suspicious so you can track changes over time.
When A Professional Makes Sense
DIY checks are great for confirming that water is moving when it should not, but some leaks hide under slabs, behind tile, or in the yard. Call a pro if the meter test keeps showing flow and you cannot isolate the source, if musty odors return after surface drying, or if you see warping, staining, or ceiling sagging that spreads. Skilled technicians use acoustic tools, pressure tests, and thermal imaging to pinpoint the problem, limit unnecessary opening of walls, and guide a targeted repair.
A simple plan catches most early issues. Watch the meter, test each toilet, listen for hissing or dripping, and scan for moisture or surface changes. These steps help you confirm the signs of a hidden water leak and decide when expert help is the smartest next move.
What Advanced Leak Detection Technologies Does JW Plumbing Pros Use?

Finding leaks you cannot see calls for tools that read what your eyes cannot. JW Plumbing Pros uses a mix of acoustic listening gear, thermal imaging, and in-pipe video to pinpoint trouble with accuracy while keeping walls and floors intact. The goal is simple: confirm the source, limit exploratory cuts, and guide the right repair the first time.
How Acoustic Leak Detection Finds Hidden Problems
Escaping water creates tiny vibrations that travel through pipe walls and nearby materials. Technicians place sensitive microphones along suspected runs and listen for frequency patterns that differ from normal system noise. By moving the sensors in measured steps and comparing sound intensity, they can triangulate the strongest signal and mark the most likely break point. This approach works well behind drywall, under tile, and even through concrete, since the equipment picks up the distinct hiss or pulse produced by pressurized leaks.
What Thermal Imaging Reveals
Moisture changes surface temperature. Infrared cameras capture those differences and translate them into a color map that highlights cooler, damp zones. A slow drip inside a wall might not show a stain yet, but the thermal profile will appear as an irregular patch that stands out from the surrounding area. By scanning floors, ceilings, and wall sections, technicians can narrow an investigation to a small target instead of opening large areas. Thermal imaging also helps track how far water has traveled from the source, which is vital for planning a clean, contained repair.
Where Video Inspection Makes The Difference
Some issues start inside the pipe rather than around it. Flexible video cameras feed live images from drains and underground lines to a handheld monitor. Bright, integrated lights reveal cracks, offset joints, and root intrusion. If the camera head includes a locator, the surface position can be marked precisely, making excavation or slab cuts as minimal as possible. Video gives clear proof of what is happening inside the line and helps decide whether a spot fix, lining, or full replacement is the smarter choice.
The Step-By-Step Diagnostic Workflow
A thorough visit follows a consistent path. It begins with an interview and a quick review of water bills and homeowner notes to focus on likely zones. Next comes an acoustic sweep to listen along supply lines and isolate any unusual signatures. Thermal scans follow on walls, floors, and ceilings to confirm damp areas and map spread. If drain or sewer problems are suspected, a video inspection documents pipe condition from the inside. Moisture meters then verify readings in drywall, baseboards, and subfloor so the team knows exactly where materials are wet and how much they need to dry. Each step builds on the last, turning clues into a clear picture of the problem.
Why This Matters For Your Home
Advanced tools shorten the time between noticing a symptom and fixing the cause. They reduce guesswork, prevent unnecessary demolition, and help protect finishes. Most importantly, they make it easier to act on early warnings. If you have noticed higher bills, musty odors, surface bubbling, or other signs of a hidden water leak, targeted testing with acoustic, thermal, and video methods can confirm the source quickly and keep damage to a minimum.
Hidden leaks rarely fix themselves. Water that seeps behind walls, under floors, or through a slab keeps spreading until something gives. The result is a slow drip of problems that hit your health, budget, and the structure of your home. If you have noticed possible signs of a hidden water leak and put them off, the damage can escalate from a simple repair to a full restoration.
How Water Damage Undermines A Home’s Structure
Repeated moisture weakens the materials that hold your house together. Wood framing and floor joists can soften, swell, and lose strength as fibers break down. Drywall absorbs water and begins to bubble or delaminate, which is why ceilings stain and sag after a persistent leak. Subfloors can rot or separate at seams, leading to spongy spots that give underfoot. Left long enough, these issues move past spot fixes and require sections of framing, sheathing, or subfloor to be cut out and replaced.
Why Moisture Quickly Becomes A Health Problem
Damp, enclosed spaces are ideal for mold. Once spores have moisture and a food source like paper backing on drywall, growth can begin within 48 to 72 hours. Mold does not need to be visible to affect the home. It often spreads on the hidden side of walls and under flooring, releasing particles that may trigger coughing, headaches, or allergy symptoms. Even after surfaces dry, high humidity trapped in cavities can keep the problem active. Stopping the leak and drying the structure thoroughly are both essential for healthy indoor air.
The Impact On Water Bills And Utilities
Unseen leaks waste water around the clock. A single toilet with a failing flapper can add $100 to $200 to annual water costs. A supply line leak under a slab can lose thousands of gallons in a month. You might first notice the issue as a steady rise in your water bill or meter movement when all fixtures are off. If you hear faint hissing, see damp baseboards, or smell a musty odor along with higher bills, treat those clues as a prompt to investigate.
Repairs You May Face If You Wait Too Long
Delays turn a small fix into a bigger project. Structural work may involve replacing weakened studs, joists, or subfloor panels and then reinstalling insulation and vapor barriers. Wall and ceiling repairs typically include new drywall, texture, primer, and paint to blend with existing finishes. Floors that cup, buckle, or grow mold often need full replacement rather than sanding or cleaning. Persistent leaks near foundations can open cracks or cause minor settling, which may lead to waterproofing or drainage corrections outside the home.
A Practical Way Forward
Early action is far less expensive than rebuilding damaged areas. Watch for ceiling stains, peeling paint, warped flooring, unexplained damp carpet, musty smells, or a sudden drop in water pressure. Confirm with a simple meter test by recording the reading, avoiding water use for a few hours, then checking again for changes. If clues keep stacking up, trace the source and plan a targeted repair. Paying attention to the early signs of a hidden water leak protects your home’s structure, your indoor air, and your monthly utilities, and it keeps future projects smaller, cleaner, and easier to manage.
Why Choose A Local, Credentialed Team In Northwest Georgia
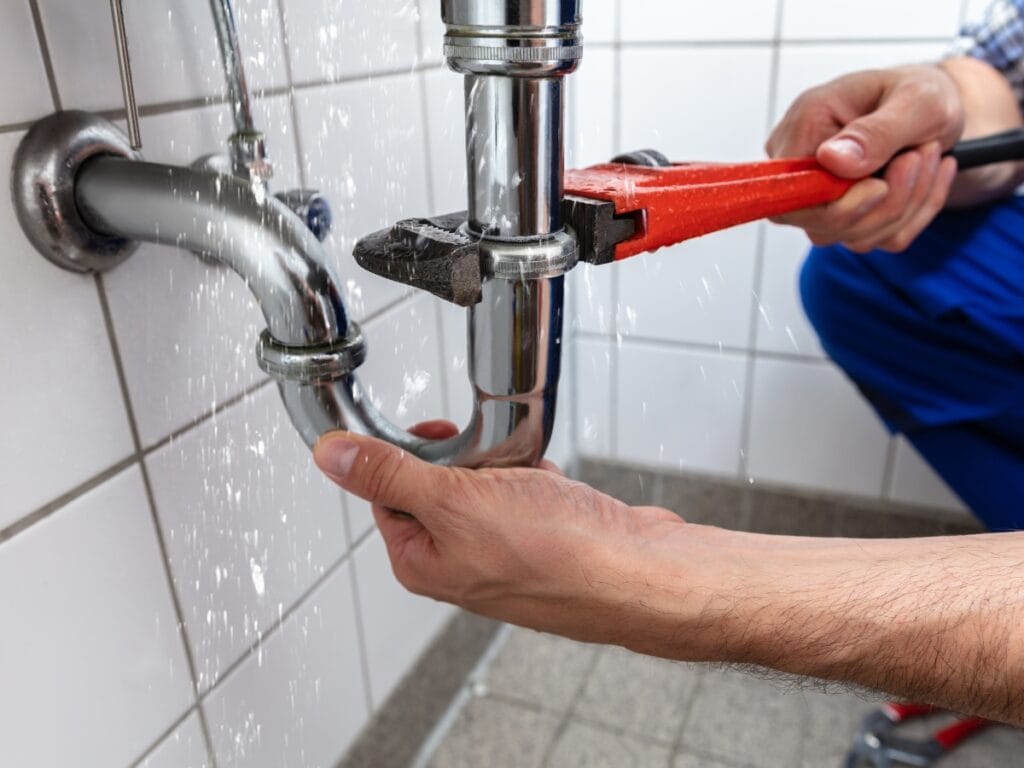
Leak problems move fast, so you need a provider that moves faster and works cleanly the first time. A local team with proven credentials brings the right tools, knows the housing stock, and understands how regional weather and soil conditions affect plumbing. That mix shortens diagnosis time and limits how much of your home needs to be opened to find the source. If you are already watching for the common signs of a hidden water leak, pairing those clues with an experienced local crew helps you act before a small issue becomes a major repair.
Licensed And Insured Technicians You Can Trust
Work quality starts with licensing and proper insurance. Licensed plumbers follow state codes, size and route lines correctly, and select fittings that match pressure and material requirements. Comprehensive insurance protects you if something goes wrong during the job. Together, those credentials mean inspections go smoothly, warranty terms are clear, and repairs meet professional standards. On complex projects, that structure matters as much as the tools in the truck.
Rapid Response For Urgent Leaks
Water damage does not wait for business hours. Around-the-clock availability reduces the time water has to travel through walls, subfloors, or insulation. A quick shutoff, targeted diagnosis, and focused repair keep the affected area smaller and the drying process faster. Even at night or on weekends, an organized response with the right parts on hand can make the difference between replacing a section of drywall and rebuilding a room.
Clear Estimates And Efficient Scheduling
Homeowners want to know what will happen, how long it will take, and what it will cost. A clear estimate explains the suspected source, the testing steps to confirm it, and the repair path once located. It also lists what is included, what is not, and any options that might fit different budgets. When everyone is aligned on scope and price, scheduling moves faster and the work stays on track. Transparent pricing also makes it easier to compare bids from different providers.
Local Knowledge That Improves Accuracy
Northwest Georgia presents a specific set of plumbing challenges. Freeze and thaw cycles put stress on lines in crawl spaces and exterior walls. Clay-heavy soils can shift and pull at underground runs. Older neighborhoods often mix copper, PVC, and PEX, which changes how joints behave over time. A team that works these conditions daily can anticipate weak points, select the right detection method, and tailor repairs that last. That might mean acoustic listening on pressurized lines, thermal scanning in suspect walls, or camera work in yard drains before anyone cuts into finishes.
Tools And Methods That Limit Damage
Modern leak detection focuses on confirmation before demolition. Acoustic sensors listen for pressure-related hiss along supply lines. Thermal imaging maps cooler, damp zones that often appear before stains. In-pipe video confirms cracks, offsets, or root intrusion inside drains and laterals. Moisture meters verify how far water traveled so drying can be targeted. Using these tools in sequence sharpens accuracy and keeps openings small.
What This Means For Your Home
Choosing a licensed, insured, and locally experienced team gives you a predictable path from symptom to solution. You get quick triage when the problem is urgent, a clear estimate that explains the plan, and methods that protect finishes while pinpointing the source. That approach saves time, limits disruption, and reduces the risk of repeat problems. If your bills are climbing, you smell a persistent musty odor, or you notice surface changes that point to moisture, the right partner can connect those clues to a precise repair and restore your home with confidence.
How Homeowners Can Prevent Hidden Water Leaks
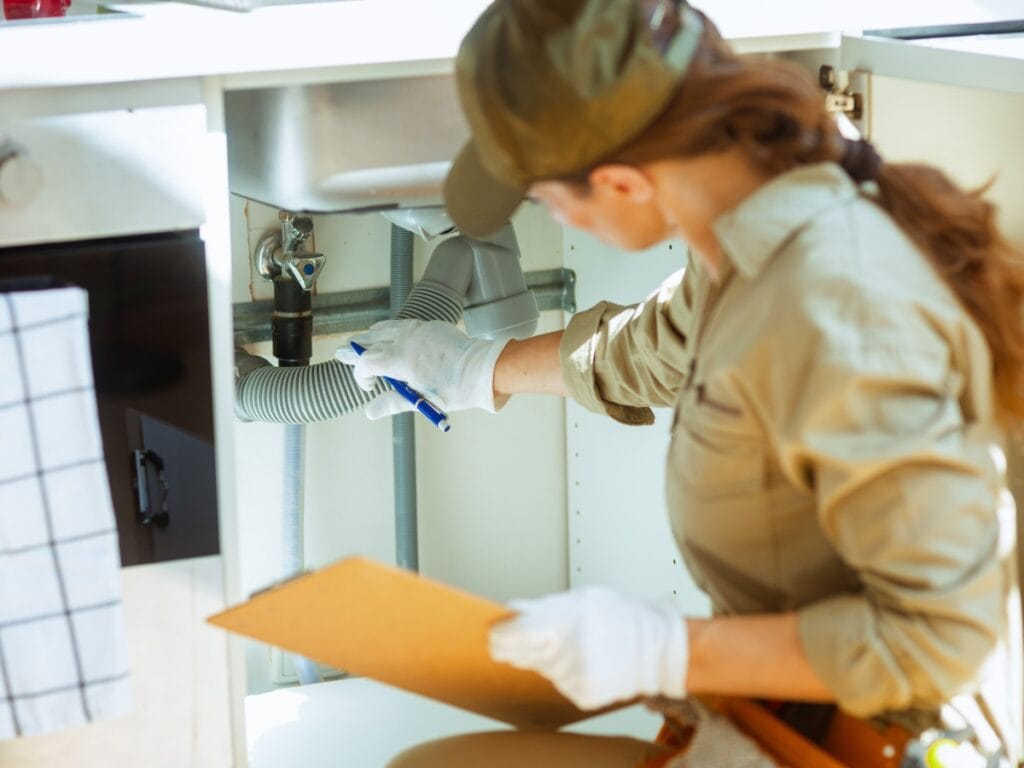
Prevention starts with a plan. A few routine checks, some smart monitoring, and consistent habits go a long way toward avoiding surprise damage. If you learn the common signs of a hidden water leak and act early, you can protect finishes, keep air quality healthy, and avoid expensive repairs.
Routine Plumbing Inspections To Schedule
Put inspections on the calendar so problems are found before they spread. Have a licensed plumber review the main water line and the primary shutoff valve once a year. Ask for a quick check of visible supply lines and fixture shutoffs at the same visit. Replace appliance supply hoses and confirm tight connections every 2 years, especially for washing machines, dishwashers, and refrigerators with ice makers. Inspect the water heater and pressure regulator every 2 years to confirm safe pressure and look for corrosion or seepage. These small appointments catch loose fittings, aging rubber, and slow drips while fixes are still simple.
How Smart Leak Detectors Help
Wireless leak sensors create an early warning system in places you rarely check. Position them under sinks, behind toilets, beside the water heater, near laundry hookups, and in basements or crawl spaces. Good sensors send instant alerts to your phone when they detect moisture. Some pair with automatic shutoff valves that close the main supply during an event, which limits damage while you are away. The combination of alerts and shutoff can turn a potential flood into a towel-and-fan cleanup.
Simple Maintenance That Reduces Risk
Small habits make leaks less likely. Tighten faucet and showerhead connections once a year to stop slow oozing that hides in escutcheons and under handles. Keep gutters and downspouts clear so roof runoff does not back up and find its way into wall cavities. Insulate exposed pipes before the first freeze to prevent bursts in crawl spaces, garages, and exterior walls. Run dishwashers and washing machines only when full loads justify the pressure cycles, and glance at the floor afterward for any fresh drips. A quick look under sinks during regular cleaning helps you spot damp wood, staining, or a musty smell before damage spreads.
When To Consider Repiping
Some systems are at the end of their service life and need more than patchwork. Consider a repipe if your home’s plumbing is older than 50 years, if pinhole leaks keep returning, or if water shows rust tint and sediment that suggest internal corrosion. Modern PEX and copper lines handle pressure and temperature swings better than many legacy materials. A targeted plan might replace only the most vulnerable runs first, such as lines in the attic or exterior walls, then phase in the rest during future projects.
A Quick Plan To Stay Ahead Of Leaks
Make an annual checklist that includes meter tests, valve exercises, and quick visual scans of ceilings, baseboards, and under-sink areas. Add leak sensors in the highest-risk spots and test them twice a year. Keep photos of anything suspicious so you can compare over time. If you notice higher bills, musty odors, peeling paint, new stains, or soft flooring, move from watchful waiting to action. Combining routine inspections, smart alerts, and steady maintenance is the simplest way to prevent damage and respond quickly to the early signs of a hidden water leak.
What Are Frequently Asked Questions About Hidden Water Leaks?
Many homeowners share similar concerns about hidden leaks, ranging from how to find them to repair costs and prevention strategies:
How Do You Find a Hidden Water Leak Quickly and Effectively?
The most efficient method involves combining water meter tests, listening devices, and thermal imaging to confirm unauthorized water flow and pinpoint its origin. This is often followed by targeted probing or camera inspections for confirmation.
What Are the Signs of a Water Leak Inside Walls or Ceilings?
Watch for discoloration, bubbling or peeling paint, musty odors, and occasional dripping sounds. Thermal imaging can also reveal cold spots where moisture is accumulating unseen.
Can a Hidden Water Leak Cause Mold and Musty Odors?
Absolutely. Persistent moisture behind walls or under floors creates an ideal environment for mold growth, which emits damp, earthy smells. Detecting and repairing the leak quickly eliminates the conditions that allow mold to thrive.
How Much Does It Typically Cost to Fix a Hidden Water Leak?
Repair costs can vary significantly depending on the leak‘s location and the extent of the damage. Factors include accessibility, materials needed, and any necessary restoration work. Minor fixture leaks might cost a few hundred dollars, while complex slab or underground leaks could range into the thousands.
How Can Preventative Maintenance Help Avoid Hidden Leaks?
Scheduling annual plumbing inspections, proactively replacing aging pipes, and installing smart leak detection devices can significantly reduce the risk of undetected leaks and the costly repairs they entail.
Conclusion
Hidden water leaks can cause significant damage to your Northwest Georgia home, leading to costly repairs and wasted resources if left undetected. At JW Plumbing Pros, we use advanced leak detection technology and years of local plumbing expertise to quickly identify and resolve issues before they escalate. Protect your property and peace of mind: Call 770-635-5159 or fill out our online form for a free quote today. Let our trusted team safeguard your home with precision and care.
